Photo ID Headshot Capturing Tips:
Upload Center Customers
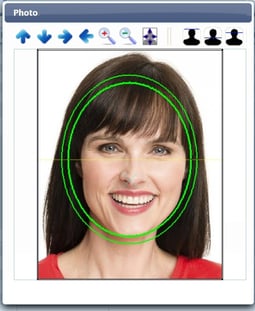
- Getting as close as possible to the subject is recommended, capturing from the shoulders up.
- The camera is placed three feet from the subject. Do not use the zoom feature.
- Use a solid light-color backdrop. A matte-finished backdrop acts as a light diffuser and reduces glare.
- If no backdrop is used, be sure there are no pictures, windows, objects, light switches, etc behind the subject.
- It is recommended to remove non-prescription eyeglasses, sunglasses, or headwear.
- Do not have your subject under fluorescent light fixtures to avoid greenish tints.
- Adjust your lighting and/or camera settings for various skin tones.
- Save image files as JPG or PNG
Veonics® Portal Users
- You will capture/upload, crop, adjust attributes, rotate, resize, and validate (approve) your photos within our Veonics® Portal
- If you have a USB web camera plugged into your PC, running a MAC in PC emulation, you can directly capture photos into the Veonics Portal™ record.
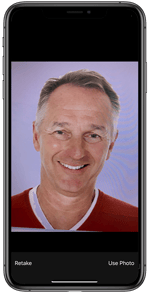
- If you include "Email Address" as a Veonics Portal badge record field, you can use the Veonics CELLfie™ feature to capture awesome-looking badge photos remotely.
- eXpress badging does offer data entry and photo import service options for the customer who procures this service.
- Otherwise, use the Upload Center photo tips above, and then use the Upload button in the Card record to link/edit/approve photos.